If you’re a fan of Lilo & Stitch, you know how much fun it is to see Stitch on screen. His quirky personality and unique design make him a favorite for many. But drawing Stitch can feel daunting, right?
I get it. You might think, “How can I possibly capture all those details?”
This article promises to change that. We’ll break down the process into simple, step-by-step instructions. Even if you’ve never picked up a pencil before, you’ll be able to draw Stitch.
And not just any drawing, but one you can be proud of. stitch tekenen makkelijk is exactly what you’ll find here.
We’ll use basic shapes and easy-to-follow steps, and no need to worry about perfection. It’s all about having fun and enjoying the creative process.
So, grab your pencil and let’s get started!
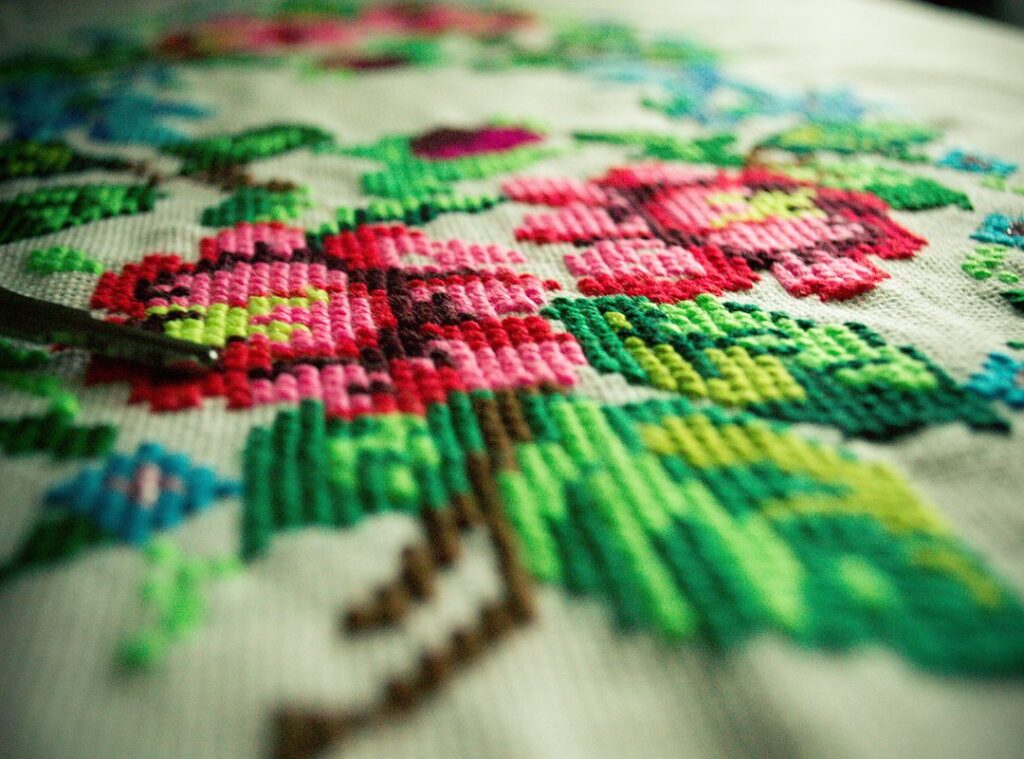
Gathering Your Simple Art Supplies
Let’s get started with the basics. For this project, you’ll need a standard pencil, a piece of paper, and a good eraser. Simple, right?
Why start with a light pencil, like an HB or No. 2? Because these lines are easier to erase. Have you ever tried to sketch with a dark, heavy pencil and ended up with a mess?
Light pencils are your friend.
When it comes to erasers, I recommend a kneaded or vinyl eraser. These won’t smudge the graphite or tear the paper. Trust me, it makes a difference.
If you want to add color later, grab some colored pencils, markers, or crayons. A basic color palette for Stitch (shades of blue, pink, and black) will do just fine. Adding color can bring your drawing to life.
The best part? You don’t need expensive or professional-grade equipment to achieve a great result. This activity is all about having fun and being creative. stitch tekenen makkelijk means “easy to draw Stitch” in Dutch, and that’s exactly what we’re aiming for—making it easy and enjoyable for everyone.
The Secret to a Perfect Sketch: Breaking Stitch Down into Basic Shapes
Let’s dive right in. The core concept of construction drawing is seeing complex characters as a combination of simple geometric shapes. It’s a game-changer.
Stitch, for example, can be broken down into a few basic shapes. Start with a large, slightly squashed oval for his head. This serves as the foundation for the entire drawing.
Next, add two long, teardrop-like shapes on top of the head for his iconic ears. Pay attention to their size and placement. They should be symmetrical and not too big or too small.
Now, sketch a smaller, pear-shaped oval below the head for his body. This gives you a good idea of his overall shape and proportions.
Use simple lines and small circles to map out the position of his arms, legs, eyes, and large nose. These are your guide points.
Don’t worry if this initial ‘skeleton’ sketch isn’t perfect. Its purpose is to get the proportions and placement right before adding details.
This method, known as stitch tekenen makkelijk, makes it easier to tackle even the most intricate characters. You’ll find that breaking things down into basic shapes simplifies the process and boosts your confidence.
Bringing Stitch to Life: A Step-by-Step Drawing Tutorial
Alright, let’s dive into this. You’re here because you want to learn how to draw Stitch, and I’m here to make it as easy and fun as possible. stitch tekenen makkelijk—that’s the goal.
Start by refining the head shape. Add a center guideline to help place those facial features symmetrically. This step is crucial; it sets the foundation for everything else.
Now, let’s move on to his massive, expressive eyes. Draw them as large ovals. His wide, round nose should be near the bottom of the head shape. Decoradtech
These features are what give Stitch his unique, lovable look.
Next, focus on his mischievous smile, and it stretches wide across his face. Don’t forget to add that small tuft of fur on top of his head.
It adds a lot of character and makes your drawing stand out.
Flesh out the ears by adding the inner notch and pink interior sections. This gives them depth and makes them look more realistic. Trust me, these little details make a big difference.
Connect the head to the body. Refine the shapes of his short, stubby arms and legs. Add his small claws on his hands and feet.
These details bring Stitch to life and make him look like he’s ready to jump off the page.
Finally, go over your final lines with more pressure or a darker pencil. Then, carefully erase all the initial guideline shapes. This step cleans up your drawing and makes it look polished.
By following these steps, you’ll not only have a great drawing of Stitch but also a better understanding of how to tackle other characters. Happy drawing!
Adding Color and Personality with Final Details
When it comes to stitch tekenen makkelijk, the right color scheme can make all the difference. For his body, go with a primary medium blue. It’s classic and stands out.
For the patches around his eyes and on his back, use a darker blue. This adds depth and dimension.
Now, for the inside of his ears, a light pink or lavender works well. It gives a soft, subtle touch.
His nose, and a dark blue or black. It makes his features pop.
Pro tip: When coloring, use small circular motions with colored pencils. This helps avoid streaks and gives a smooth finish. If you’re using markers, try layering them.
It’s a great way to get that seamless look.
Don’t forget the eyes! Adding a small white dot in each eye as a light reflection can instantly make the drawing look more alive and professional. Trust me, this tiny detail makes a huge impact.
You’ve Drawn Stitch! What’s Your Next Artistic Adventure?
Great job on completing your drawing of Stitch! You’ve just added a new skill to your artistic toolkit.
stitch tekenen makkelijk is all about breaking down the character into simple shapes, making the process both easy and enjoyable.
Don’t let this be the end of your creative journey. Keep practicing and experimenting with different characters.
Why not try drawing Olaf from ‘Frozen’ or a Minion next? They’re also made up of simple shapes that can be fun to tackle.
Remember, every line you draw is a step towards perfecting your craft. Enjoy the joy and satisfaction that comes with creating art.
 Dustin Brusticker writes the kind of smart living concepts content that people actually send to each other. Not because it's flashy or controversial, but because it's the sort of thing where you read it and immediately think of three people who need to see it. Dustin has a talent for identifying the questions that a lot of people have but haven't quite figured out how to articulate yet — and then answering them properly.
They covers a lot of ground: Smart Living Concepts, Tech-Enhanced Design Elements, Expert Breakdowns, and plenty of adjacent territory that doesn't always get treated with the same seriousness. The consistency across all of it is a certain kind of respect for the reader. Dustin doesn't assume people are stupid, and they doesn't assume they know everything either. They writes for someone who is genuinely trying to figure something out — because that's usually who's actually reading. That assumption shapes everything from how they structures an explanation to how much background they includes before getting to the point.
Beyond the practical stuff, there's something in Dustin's writing that reflects a real investment in the subject — not performed enthusiasm, but the kind of sustained interest that produces insight over time. They has been paying attention to smart living concepts long enough that they notices things a more casual observer would miss. That depth shows up in the work in ways that are hard to fake.
Dustin Brusticker writes the kind of smart living concepts content that people actually send to each other. Not because it's flashy or controversial, but because it's the sort of thing where you read it and immediately think of three people who need to see it. Dustin has a talent for identifying the questions that a lot of people have but haven't quite figured out how to articulate yet — and then answering them properly.
They covers a lot of ground: Smart Living Concepts, Tech-Enhanced Design Elements, Expert Breakdowns, and plenty of adjacent territory that doesn't always get treated with the same seriousness. The consistency across all of it is a certain kind of respect for the reader. Dustin doesn't assume people are stupid, and they doesn't assume they know everything either. They writes for someone who is genuinely trying to figure something out — because that's usually who's actually reading. That assumption shapes everything from how they structures an explanation to how much background they includes before getting to the point.
Beyond the practical stuff, there's something in Dustin's writing that reflects a real investment in the subject — not performed enthusiasm, but the kind of sustained interest that produces insight over time. They has been paying attention to smart living concepts long enough that they notices things a more casual observer would miss. That depth shows up in the work in ways that are hard to fake.