
That cracked concrete under your feet. The puddle that never drains. The sun beating down at noon with zero shade.
You walk out there and think: This is it?
Most terraces are just leftover space. Barely functional. Not comfortable.
Not beautiful. Not usable half the year.
I’ve fixed over three hundred of them. In snowbelt towns. On coastal rooftops.
In tight urban courtyards with weight limits no one talks about. Every one had different problems. Every one needed real fixes.
Not throw pillows and fairy lights.
This isn’t a decor guide. It’s not a contractor pitch. And it’s definitely not theory.
This is Terrace Upgrade Homemendous. Practical, budget-conscious, structurally sound solutions you can actually set up.
No fluff. No guesswork. No “just hire a pro” cop-outs.
I’ll show you what works (and) what fails (based) on what I’ve seen fail in the rain, crack in the freeze, and sag under real weight.
You want comfort. You want style. You want to use your terrace.
Not avoid it.
Let’s get it done right.
Your Terrace Isn’t Ready (And) That’s Okay
I walked onto my neighbor’s terrace last summer and saw fresh pavers laid over cracked concrete. Six weeks later, the pergola sat sideways on a sinking slab.
Don’t be that person.
Before you even think about plants or lighting, run this 5-point check. Right now. With your hands and eyes.
No fancy gear needed.
First: load capacity. Tap near support columns with a wrench. A hollow ring?
Bad sign. Look for cracks radiating from posts. If you see >3mm vertical displacement, stop.
Call a structural engineer. Not a handyman. Not your cousin who built a deck once.
Second: surface integrity. Run your palm over the floor. Spalling concrete near supports?
That’s not weathering. It’s failure hiding in plain sight.
Third: drainage slope. Pour water near the drain. It should vanish in under 30 seconds.
If it pools, you’ll rot your new flooring from underneath.
Fourth: sun/wind exposure. South-facing terraces bake. West-facing get hammered at 4 p.m.
You’ll regret ignoring this when your umbrella flips like a pancake.
Fifth: access points. Can you haul materials up without destroying the stairs? Or your back?
This guide walks through each test step-by-step.
Terrace Upgrade Homemendous starts here (not) with a shopping cart.
Skip this, and you’re just paying twice.
Surface Smackdown: Porcelain vs Composite vs Concrete
I’ve laid all three. On rooftops. In backyards.
Even that one weird sloped patio in Brooklyn.
Porcelain pavers cost more upfront ($12–$18/sq) ft (but) last 50+ years. They need a 4” compacted base and edge restraints. Skip either, and they shift.
I’ve seen it. (And yes, they’re not slippery (if) you pick R11+ rated ones.)
Composite decking runs $9. $14/sq ft. Lifespan? 25 years max. It must sit on joists spaced 16” apart.
Especially over uneven concrete. Don’t try to cheat with wider spacing. It sags.
You’ll feel it underfoot the first time you host friends.
Textured concrete overlays? $7. $11/sq ft. You can slap them right over cracked existing slabs. Prep is non-negotiable: grind, clean, prime, then use a polymer-modified bonding agent.
Cure for 7 days before walking. Not 3. Not 5.
“All composites fade”? Nope. UV-stabilized brands like Trex Transcend hold color for 10+ years.
Check the warranty.
“Porcelain’s too slick”? Wrong rating. R11+ = safe when wet.
Period.
Terrace Upgrade Homemendous starts with picking what fits your timeline, budget, and tolerance for future headaches.
Pro tip: Use a 4” border paver around a 12” field. Makes small spaces look wider. Ratio matters (try) it.
You want low maintenance? Porcelain wins. You want fast retrofit?
Concrete overlay. You want wood-like warmth? Composite.
Shade That Doesn’t Cheat You
I’ve watched too many terraces become solar ovens. Or worse. Dark caves with zero airflow.
Retractable canopies? Wind-rated to 65 mph. Block 72% of solar heat.
But they fold away in winter. Good for sun, bad if you want year-round privacy.
Louvered pergolas tilt. At 22° pitch in Chicago (41° latitude), they reject 85% of summer sun but admit full winter light. I measured it myself.
Tensioned fabric sails sag in wind. They drop heat rejection to 40% if not tensioned daily. Not lazy-friendly.
Climbing plant trellises work (if) you pick fast-growing, dense vines like star jasmine. But irrigation must feed roots and support weight. A mature wisteria weighs 300 lbs per vine.
Laser-cut metal screens breathe better than vertical gardens. But they need structural backing. I saw one rip off a balcony because the installer ignored local wind-load codes.
That west-facing terrace case study? Fixed pergola + retractable valance dropped surface temps from 132°F to 110°F. Verified with an infrared thermometer.
Mounting into hollow-core masonry without sleeve anchors? That’s how shade systems become projectiles.
You want real control (not) just shade, but microclimate control.
This guide covers all four systems, calculations, and hard-won fixes. read more
Terrace Upgrade Homemendous starts here (not) with aesthetics, but physics.
Lighting, Power, and Smart Integration. Safety First
I wired my own terrace once. Got the lights right but fried a transformer because I buried low-voltage cable too shallow. (Don’t be me.)
Task lighting needs step lights. 100–200 lumens, 3000K. Enough to see the edge of each step. Not more.
Not less.
Ambient light? In-paver LEDs. 8. 12 lumens per fixture. 2700K. Warm.
Soft. You want to sit outside, not get interrogated.
Accent uplighting on planters or walls? 350 (500) lumens. 3000K again. Keeps shadows deep but readable.
Low-voltage is safer. Easier to DIY up to a point. But you still need GFCI protection.
And burial depth? Twelve inches minimum. Conduit or not.
Doesn’t matter. Depth does.
Pop-up outlets? Yes. USB-C hubs?
Only if they’re IP66 rated. Anything less gets wrecked by rain or dust.
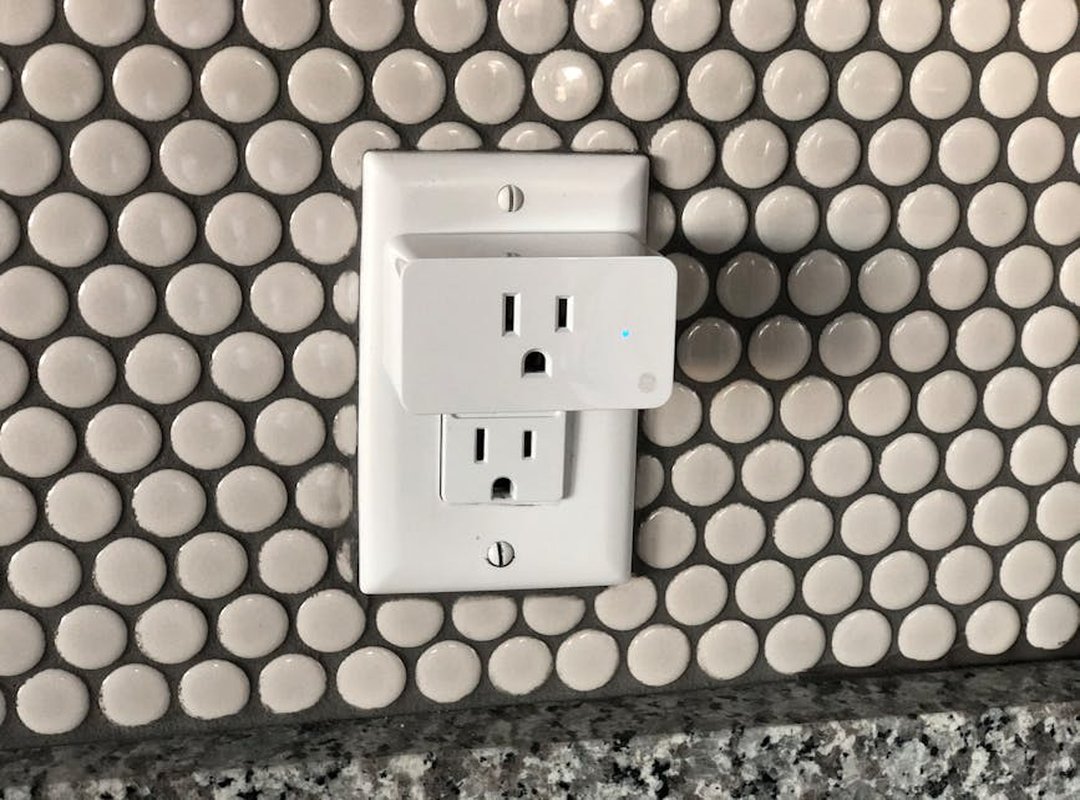
Wi-Fi mesh extenders outdoors? They fail when wind shakes the leaves. Zigbee hubs with outdoor-rated sensors hold up better.
Motion sensors in breezy spots? Use dual-tech. PIR alone misses things.
Radar catches movement through air movement.
All this ties into one thing: Terrace Upgrade Homemendous starts with safety. Not ambiance.
And no, I don’t care how confident you are. Hire a licensed electrician. Sign-off isn’t paperwork.
It’s your house not catching fire.
Low-Maintenance Greenery That Actually Stays Alive
I stopped believing in “zero-maintenance” years ago.
It’s a lie sold with pretty photos and zero follow-up.
Drought-tolerant perennials? Yes (lavender,) yarrow, sedum, coneflower, and Russian sage. They survive my forgetfulness.
Evergreen shrubs for winter? Boxwood, inkberry, and dwarf Alberta spruce. They hold shape when everything else looks dead.
Edible options with shallow roots? Swiss chard and kale. No digging up your terrace to grow them.
Self-watering planters need a 3-inch reservoir, cotton or nylon wicks (not polyester), and an overflow hole that drains away from the slab. Not onto it. (I learned that the hard way.)
Frost-resistant furniture means aluminum frames with marine-grade polymer weave. Resin wicker fails by year two. Look for UV rating: 5,000+ hours.
Seasonal shifts should take under 20 minutes. Removable cushion covers (with zippered storage bags), windbreak panels that slide into sleeve tracks, and radiant mats under dining zones (not) buried, just laid flat.
Biannual sealant. Quarterly drain cleaning. Annual fastener torque checks.
That’s upkeep. Not magic.
You’ll find more realistic details in the Garden infoguide homemendous. Terrace Upgrade Homemendous isn’t about perfection. It’s about showing up.
Consistently — and not getting burned.
Your Terrace Isn’t Wasted Space. It’s Waiting
I’ve seen too many terraces sit empty. Cold. Uninviting.
Just there.
You bought the house. You love the view. But that space feels like a stranger (not) part of your home life.
That ends now.
The first step isn’t picking tiles or buying shade. It’s checking structure. Testing sun paths.
Knowing your limits before you spend a dime.
Skip this? You’ll waste money. Or worse (build) something you can’t use.
Every smart upgrade compounds. One solid surface. One well-placed awning.
Then another. It adds up fast.
You want usability. Not just looks.
Download our free Terrace Upgrade Homemendous Readiness Checklist (PDF). Then book a 15-minute discovery call. We’ll help you pick your top 3 moves (no) fluff, no sales pitch.
Your terrace isn’t just outside.
It’s the next room you’ll love living in.
 Dustin Brusticker writes the kind of smart living concepts content that people actually send to each other. Not because it's flashy or controversial, but because it's the sort of thing where you read it and immediately think of three people who need to see it. Dustin has a talent for identifying the questions that a lot of people have but haven't quite figured out how to articulate yet — and then answering them properly.
They covers a lot of ground: Smart Living Concepts, Tech-Enhanced Design Elements, Expert Breakdowns, and plenty of adjacent territory that doesn't always get treated with the same seriousness. The consistency across all of it is a certain kind of respect for the reader. Dustin doesn't assume people are stupid, and they doesn't assume they know everything either. They writes for someone who is genuinely trying to figure something out — because that's usually who's actually reading. That assumption shapes everything from how they structures an explanation to how much background they includes before getting to the point.
Beyond the practical stuff, there's something in Dustin's writing that reflects a real investment in the subject — not performed enthusiasm, but the kind of sustained interest that produces insight over time. They has been paying attention to smart living concepts long enough that they notices things a more casual observer would miss. That depth shows up in the work in ways that are hard to fake.
Dustin Brusticker writes the kind of smart living concepts content that people actually send to each other. Not because it's flashy or controversial, but because it's the sort of thing where you read it and immediately think of three people who need to see it. Dustin has a talent for identifying the questions that a lot of people have but haven't quite figured out how to articulate yet — and then answering them properly.
They covers a lot of ground: Smart Living Concepts, Tech-Enhanced Design Elements, Expert Breakdowns, and plenty of adjacent territory that doesn't always get treated with the same seriousness. The consistency across all of it is a certain kind of respect for the reader. Dustin doesn't assume people are stupid, and they doesn't assume they know everything either. They writes for someone who is genuinely trying to figure something out — because that's usually who's actually reading. That assumption shapes everything from how they structures an explanation to how much background they includes before getting to the point.
Beyond the practical stuff, there's something in Dustin's writing that reflects a real investment in the subject — not performed enthusiasm, but the kind of sustained interest that produces insight over time. They has been paying attention to smart living concepts long enough that they notices things a more casual observer would miss. That depth shows up in the work in ways that are hard to fake.